How to Make Cartoon Videos for YouTube (Beginner Guide)
This post contains affiliate links; I may earn a commission at no extra cost to you.
AI disclosure: this guide was drafted with help from AI writing tools and reviewed and edited by PickSavvy Lab. Product details come from each vendor's sales page.
Cartoon channels have an unusual advantage on YouTube: you never have to show your face, the format works for kids' stories, explainers, comedy and shorts, and a good character can carry a whole series. The hard part was always the animation. That's less true now, but the parts that decide whether people watch (story, character, pacing) are still up to you.
This guide is organized the way a small studio would work: decide the series first, then make one episode properly, then upload it with the right settings. A worked example runs through the whole thing.
Part 1: Decide the series before the episode
One-off cartoons are hard to grow. A series gives viewers a reason to come back. Before you make anything, answer three questions.
Who is it for? Young kids, teens, adults, a niche hobby? This changes everything from vocabulary to pacing, and it affects a YouTube setting we'll get to later.
What's the repeatable format? Some formats that work as series:
- A recurring character with a small problem each episode.
- "Explained in 60 seconds" science or history cartoons.
- Bedtime stories with the same narrator character.
- Short comedy sketches between two characters.
- Seasonal or holiday mini-stories.
What length? Shorts (under a minute, vertical) are the easiest place to start and to test ideas. Longer horizontal episodes (3 to 10 minutes) suit stories and compilations once you know what works.
Worked example: "Spike the Cactus", a grumpy cactus in a sunny window who wants one thing each episode. Audience: general, all ages. Format: 45-second vertical Shorts. One problem, one twist, one tiny lesson.
Part 2: Make one episode properly
Step 1: Write the story in five beats
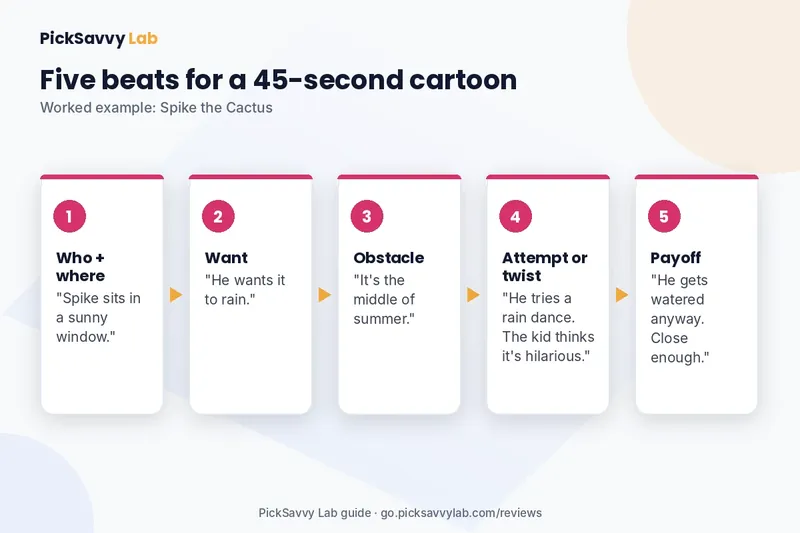
Short cartoons work best with a tight shape:
- Who + where — "Spike sits in a sunny window."
- Want — "He wants it to rain."
- Obstacle — "It's the middle of summer."
- Attempt / twist — "He tries a rain dance; the kid watering the plants thinks it's hilarious."
- Payoff — "He gets watered anyway. Close enough."
Write it in plain sentences first. If you can't tell it in five sentences, it's too long for a Short.
Step 2: Write the dialogue (less than you think)
Short cartoons are carried by visuals. A few rules of thumb:
- One line per scene, two at most.
- Each character should sound different: one short and grumpy, one bright and curious.
- End on a line people can quote.
For a 45-second Short, roughly 60 to 90 spoken words is a comfortable range. Read it aloud with a timer.
Step 3: Design the character once, then lock it
Viewers forgive simple animation. They don't forgive a character whose face changes every scene. Make a quick character sheet:
- Front and side view (even rough).
- Two or three main colors.
- One distinctive feature (Spike: a single flower on his head).
- Three expressions: neutral, annoyed, delighted.
Whatever tool you use, keep this sheet next to you and check every scene against it.
Step 4: Storyboard every scene
A storyboard is a row of rough frames, one per scene, with the line of dialogue under each. For Spike:
| Scene | Picture | Line |
|---|---|---|
| 1 | Wide: window, sun, Spike squinting | "Hot. Again." |
| 2 | Close-up: Spike looking at the sky | "Just one cloud. That's all." |
| 3 | Medium: Spike wiggling | (no line, music) |
| 4 | Kid laughing in the doorway | "Mom! The cactus is dancing!" |
| 5 | Watering can pouring | "...I'll allow it." |
Vary your camera: a wide shot to set the scene, a close-up for emotion, a medium shot for action. Five scenes with three different shot sizes already feels "directed."
Step 5: Animate, voice and score
Your options here range from frame-by-frame animation software (most control, steepest learning curve) to simple puppet-style animation, to AI tools that generate scenes from text. Whichever you choose:
- Voice first if there's dialogue, then time visuals to it.
- Music under, not over. It should sit quietly beneath the voices.
- Captions on. They help viewers who watch muted and viewers whose first language differs from yours.
Step 6: Watch it like a stranger
Watch at full speed with sound off, then with sound on. Cut anything that slows the first five seconds. If the character's look drifts between scenes, fix those scenes before uploading.
Part 3: Upload it the right way
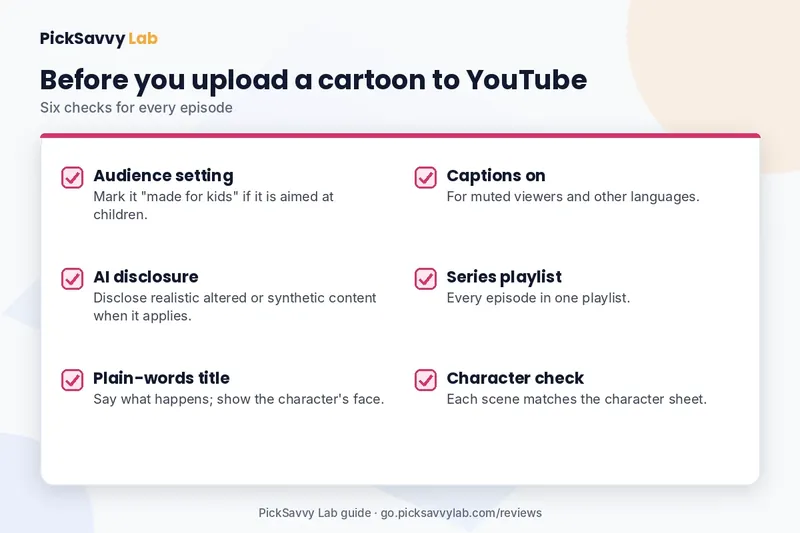
A few YouTube details that beginners often miss:
- Audience setting. YouTube asks every uploader whether a video is made for kids. Cartoons aimed at children should be marked that way, which changes features like comments. Read YouTube's current guidance and answer honestly; this is a legal requirement, not a growth trick.
- Altered or synthetic content. YouTube asks creators to disclose realistic altered or synthetic content. Clearly stylized cartoons are generally a different case from realistic footage, but check the current wording on the upload screen and disclose when it applies.
- Title and thumbnail. Describe what happens in plain words ("Grumpy cactus tries a rain dance") and show the character's face at its most expressive.
- Playlists. Put every episode of a series in one playlist so viewers can binge.
Consistency of format usually matters more than any single upload. Plan a few episodes ahead so you're not starting from zero each time.
Where RocketToons Commercial fits
Steps 3 to 5 (keeping a character consistent, storyboarding and animating) are where most beginners get stuck. RocketToons Commercial is an AI cartoon studio built around that part of the process. According to its sales page:
- Storyboard first, then animation. Each scene appears as a still with its voiced line, and you can swap shots, edit lines, reorder or cut scenes, and regenerate only what you changed before animating.
- A cast library. Characters, places and props are saved and reused across episodes, aimed at the "face changes every scene" problem. You can also turn a photo, such as a product photo, into a toon.
- 8 animation styles, including Pixar-style 3D, classic 2D, anime, claymation and comic book.
- 40 voices with lip-synced dialogue, voices and subtitles in 54 languages, 38 background tracks, and auto captions in 2 styles.
- Exports in 9:16, 16:9 and 1:1 as HD MP4 with no watermark, with direct posting to YouTube, Instagram, Facebook and LinkedIn.
- It runs in the browser on Mac or Windows, and includes a commercial license.
The storyboard-first approach lines up with Step 4 above: you check the plan before credits go into animation.
Pros, cons and who should skip it
In its favor (per the sales page)
- One-time price, no monthly fee for this plan.
- Storyboard review before you spend credits on animation.
- Recurring characters saved across episodes.
- Nothing to install; commercial license; 30-day money-back guarantee.
The catches
- Credits go fast on longer videos. The page says 1,000 credits cover up to 50 short videos of up to 5 seconds each, and credits are charged by duration (the cost shows before each generation). By my reading, that suits Shorts and short clips far better than long episodes.
- The sales page doesn't state a maximum episode length.
- Up to five optional upgrades are offered after checkout.
- AI output varies, so plan time for redoing scenes.
- The comparison table on the page is the vendor's own.
Skip it if you want frame-by-frame manual control, need long films every day on the base credits, or expect views or income just from posting. The vendor promises neither, and I don't either. A channel grows from the ideas and consistency in Part 1, not from the tool.
Pricing
As listed on the sales page when checked Nov 7, 2026: $37 one-time for Commercial, with 1,000 credits and a commercial license. A Bundle was listed at $317 on JVZoo when checked the same day. Check the current price at checkout, which shows the final amount.
FAQ
Can I make cartoon videos for YouTube without drawing? Yes. Puppet-style tools, templates and AI generators all work without drawing. You still need a clear story and a consistent character design.
How long should a cartoon Short be? Under a minute. Many good ones land between 20 and 45 seconds with one clear joke or lesson.
Do I need to mark my cartoon as made for kids? If it's aimed at children, yes. YouTube asks every uploader to set this, and it's a legal requirement in many places. Check YouTube's current guidance.
How do I keep my character looking the same? Make a character sheet, reuse the same description or saved character every time, and review every scene against it before publishing.
How many episodes should I plan before launching? Having three to five planned (even just as five-beat outlines) makes it much easier to post consistently.
Next step
For the full feature list, the credit details and the guarantee, read our RocketToons Commercial breakdown on PickSavvy Lab. For all the tools we cover, see the PickSavvy Lab home page.
And before any of that: write five beats for your own "Spike." That outline is your first episode.
Free: grab our Holiday Content Kit → https://picksavvylabdigitaltools.systeme.io/holiday-kit
Free: Holiday Content Kit (email required, not an affiliate link)
Affiliate disclosure & privacy policy · About · Free Holiday Content Kit